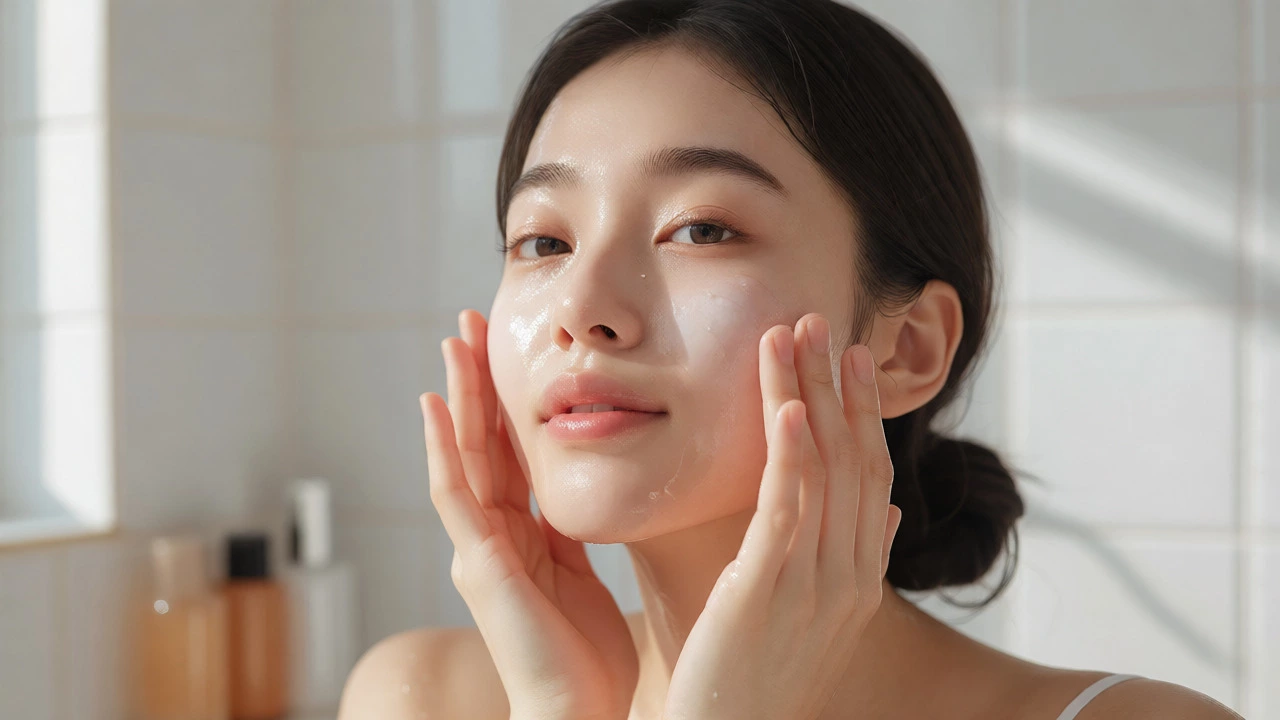
7 Skin Method Routine Tracker
Follow this guided routine to achieve deep hydration. Tap each step as you complete it. Wait for the timer before applying the next layer.
Current Step
You’ve probably seen those photos of people with glass skin-that dewy, translucent look that seems impossible to achieve without filters. The secret often whispered about in beauty forums isn’t a magic cream or an expensive facial. It’s a method called the 7 Skin Method, also known as the Seven Skin Routine. This technique originated in South Korea and focuses on one simple goal: deep hydration through repeated layering.
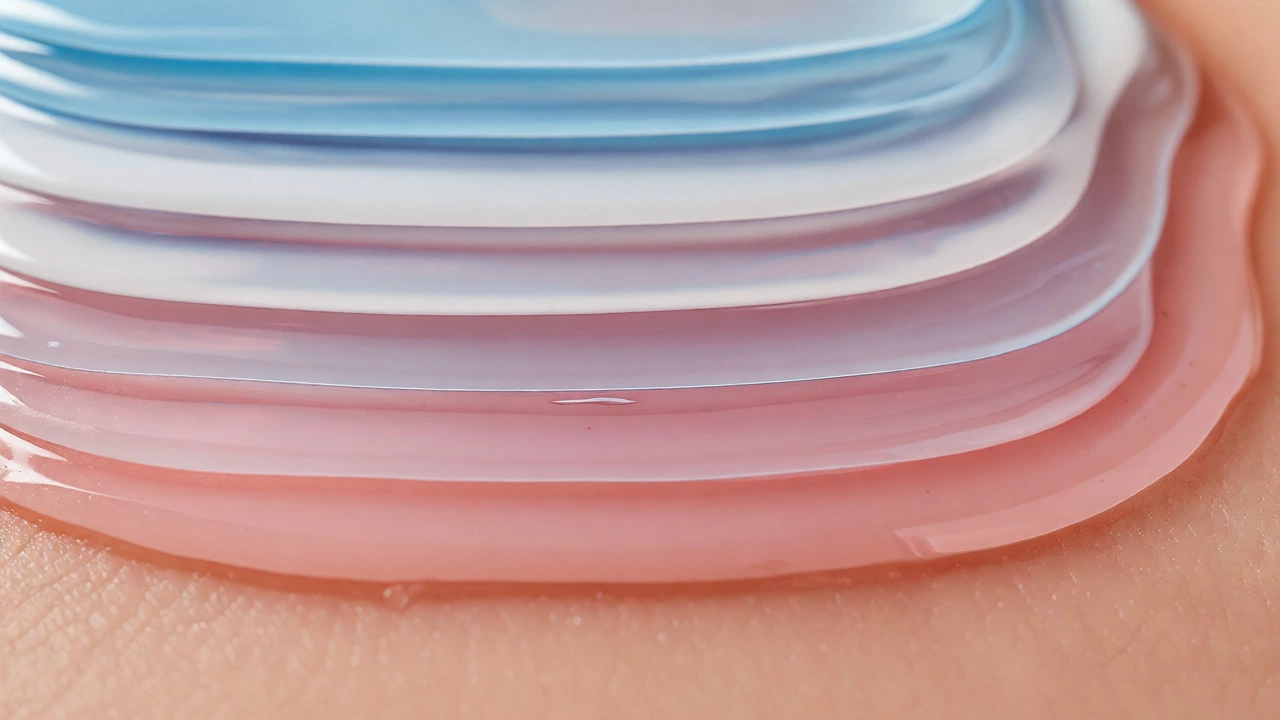
Instead of slapping on one thick moisturizer, you apply seven thin layers of a watery essence or toner. Sounds tedious? Maybe. But for many, it’s the game-changer that fixed dry patches and dullness overnight. If you’re tired of heavy creams that sit on your face without absorbing, this might be exactly what your skin barrier needs. Let’s break down how it works, why it’s popular, and whether it’s right for you.
Understanding the Core Concept
The 7 Skin Method is a skincare technique involving the application of multiple thin layers of liquid toner or essence. Unlike traditional routines where you use one product once, this method relies on saturation. Think of it like watering a plant. If you dump a bucket of water on dry soil all at once, much of it runs off. But if you mist it gently several times, the soil absorbs every drop. Your skin works similarly.
Korean skincare philosophy prioritizes hydration over oiliness. By using lightweight, water-based products repeatedly, you trick your skin into thinking it has enough moisture. This signals your sebaceous glands to produce less oil, which can actually help balance oily skin types too. It’s counterintuitive, but effective.
Step-by-Step Implementation Guide
You don’t need seven different bottles. In fact, using the same bottle seven times is key. Here’s how to do it properly:
- Cleanse thoroughly: Remove makeup and dirt. Use a gentle cleanser so your skin is receptive.
- First Layer (The Prep): Pour a small amount of toner onto your palms. Pat it gently onto your face. Don’t rub; patting helps absorption.
- Wait Briefly: Give it 30-60 seconds. You want it slightly tacky, not fully dry.
- Second Layer: Repeat the patting motion. Focus on dry areas like cheeks.
- Third to Sixth Layers: Continue adding thin coats. Each layer should feel lighter than the last.
- Seal It In: Finish with a moisturizer or sleeping mask. This locks the water in.
Yes, it takes time. Expect 10-15 minutes. But the payoff is immediate plumpness.
Choosing the Right Products
Not all toners work here. Avoid anything with high alcohol content or strong acids like salicylic acid for this specific method. You want humectants-ingredients that grab water. Look for these attributes in your chosen product:
| Ingredient Type | Function | Examples |
|---|---|---|
| Humectants | Draws moisture from air into skin | Hyaluronic Acid, Glycerin |
| Soothers | Reduces redness during frequent handling | Centella Asiatica, Aloe Vera |
| Brighteners | Adds glow without irritation | Niacinamide, Rice Water |
Avoid heavy oils in the toner itself. If your toner feels sticky or greasy, it won’t layer well. Stick to watery essences. Brands like Klairs, Missha, or even DIY rice water work well because they are lightweight.
Who Should Try This Routine?
This isn’t for everyone. If you have extremely sensitive skin or active acne lesions, the friction from patting seven times might irritate you. However, it shines for specific skin concerns:
- Dry and Dehydrated Skin: The most obvious beneficiary. If your skin feels tight after washing, this restores flexibility.
- Dull Complexion: Hydrated skin reflects light better. That “glow” comes from surface smoothness.
- Oily Skin: Surprisingly helpful. When skin is dehydrated, it overproduces oil. Hydration stops that cycle.
- Winter Weather: Cold air strips moisture. Layering acts as a shield against harsh winds.
If you have rosacea or eczema, patch test first. Start with three layers instead of seven to see how your barrier reacts.
Common Mistakes to Avoid
People fail at this routine for two reasons: rushing and wrong product choice. If you apply layers too fast, they mix together instead of building up. Wait until each layer is semi-absorbed. Also, don’t skip the final sealant. Without a moisturizer or occlusive agent, the water evaporates, leaving your skin drier than before.
Another trap is expecting instant miracles. While hydration is immediate, long-term texture changes take weeks. Consistency matters more than perfection. Do it nightly for a week, then reassess.
Troubleshooting and Adjustments
If your skin feels heavy or clogged, reduce the number of layers. Five might be enough. If it feels dry by noon, your toner lacks sufficient humectants. Switch to one with higher glycerin content. For humid climates, you might skip the final heavy cream and just use a light gel.
Remember, skincare is personal. The 7 Skin Method is a tool, not a rule. Adapt it to your lifestyle. Some people do it only on weekends. Others make it their daily ritual. Listen to your skin.
Can I use any toner for the 7 skin method?
No. You need a lightweight, watery toner or essence. Avoid formulas with high alcohol content, strong exfoliating acids (like AHA/BHA), or heavy oils. Look for ingredients like hyaluronic acid, glycerin, or centella asiatica that provide hydration without clogging pores.
How long does the 7 skin routine take?
It typically takes 10 to 15 minutes. You need to wait 30-60 seconds between each layer to allow partial absorption. Rushing causes the layers to pill or slide off rather than penetrate.
Is the 7 skin method good for oily skin?
Yes, it can be very beneficial. Oily skin is often dehydrated underneath. By providing ample water-based hydration, you signal your skin to produce less sebum. Just ensure you use a non-comedogenic toner and finish with a lightweight gel moisturizer.
Do I really need seven layers?
No. Seven is a guideline, not a law. Many people find 3 to 5 layers sufficient. Start with three and increase gradually if your skin still feels thirsty. Over-layering can lead to congestion if the products aren't compatible.
Can I use this method in the morning?
You can, but it might interfere with sunscreen application if you’re in a hurry. Most people prefer doing it at night when there’s no rush. If you do it in the AM, ensure your sunscreen applies evenly over the layered skin.